


Creating your own makeup at home not only allows for a personalized touch but also ensures you know exactly what goes into the products you use.
In this DIY guide, we will explore the enchanting world of natural cream blush and bronzer, revealing how to craft these makeup essentials that harmonize beautifully with your unique skin tone.
With a focus on natural ingredients and customizable shades, you’ll find that making your own cream blush and bronzer is not only fun but also an excellent way to enhance your beauty routine.
Join me as we dive into the benefits, techniques, and a step-by-step recipe for creating vibrant tones that suit your personal style!
Key Takeaways
- Homemade cream blush and bronzer allow for full customization of shades to suit individual skin tones.
- Creating your own makeup is not only cost-effective but also avoids potentially harmful commercial ingredients.
- The article provides two methods for preparation, emphasizing the use of natural ingredients for healthy skin benefits.
Understanding the Benefits of Homemade Cream Blush and Bronzer
## Understanding the Benefits of Homemade Cream Blush and Bronzer
Creating your own cream blush and bronzer may seem like a daunting task, but it can be an incredibly rewarding experience that elevates your makeup routine to a new level.
With a strong push towards natural, DIY beauty products, more and more individuals are exploring the world of homemade cosmetics.
The advantages of making your own cream blush and bronzer are multi-faceted, combining cost savings, customization, and the ability to control the ingredients in your makeup.
As someone who has extensively crafted makeup products, I realized the demand for a cream blush alongside my popular powder formula.
This led me to align my new recipe with previous successes, such as my DIY liquid foundation.
One significant benefit of homemade cream blush is its adaptability—each product can be tailored for individual skin tones.
By adjusting the ratios of cocoa powder and natural pigments, you can create a buildable tint that enhances your unique complexion.
In contrast to many commercial blushes that often incorporate synthetic ingredients like dimethicone and silica, homemade alternatives shine with their natural formulations.
Opting for DIY versions not only presents an opportunity for more cost-effective beauty solutions but may also align better with your skincare philosophy.
They can be designed to provide either a radiant dewy finish or a more matte look, based on personal preference.
When it comes to preparation, my recipe offers two distinct methods: utilizing a pre-made lotion for convenience or crafting your own liquid base, which combines shea butter, aloe vera gel, and emulsifying wax.
By employing some of the same basic ingredients from my liquid foundation, the formulations merge seamlessly, ensuring that the blush feels light and creamy on the skin.
Aloe vera provides hydration while shea butter nourishes your complexion, and the addition of vitamin E oil further enhances the skincare benefits of your makeup.
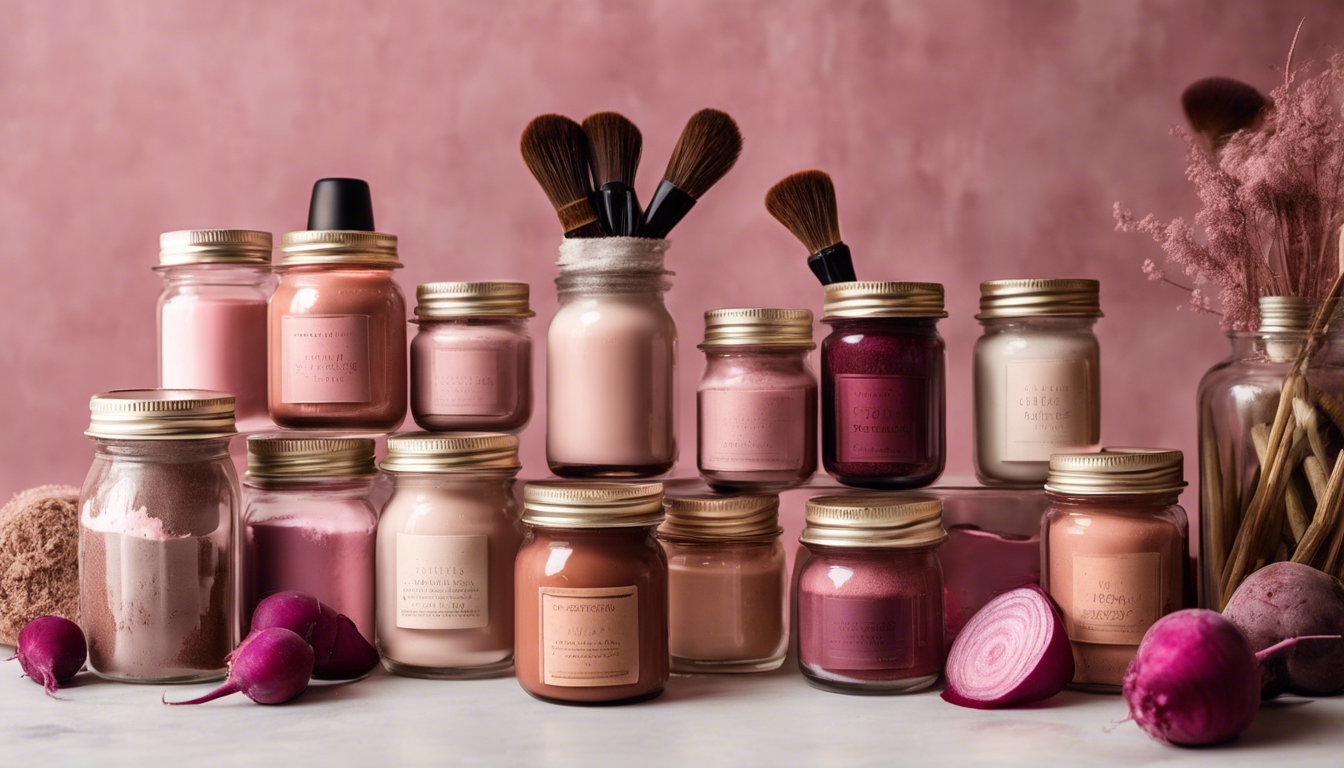
For coloring agents, I suggest turning to cocoa powder and mica, which can be mixed to create an array of shades—from deep berry tones to vibrant pinks.
Furthermore, adding a touch of bronzer or mauve can diversify your color palette, allowing you to achieve that sun-kissed glow.
In summary, this guide equips you with the knowledge and confidence to craft a personalized, natural cream blush and bronzer that is tailored to your tastes, showcasing the beauty of DIY makeup.
Recommended to Read: Unlock the Power of Oregano Oil: Nature’s Potent Antibacterial, Antiviral, and Antifungal Solution!
Step-by-Step Recipe for Customization and Preparation
To get started with your DIY cream blush and bronzer, gather the necessary ingredients and tools.
For the first method, if you choose to use a pre-made lotion, select one that is free from heavy fragrances and irritants to ensure a gentle application on your skin.
Begin by measuring out your desired amount of lotion into a mixing bowl, then gradually incorporate the cocoa powder and mica.
Mix thoroughly until the color is evenly distributed and adjust the pigment concentration to achieve your desired tint.
For those opting for the second method, combine shea butter, aloe vera gel, and emulsifying wax in a double boiler until melted.
This base will serve as the foundation for your cream blush.
After it cools slightly, introduce your coloring agents, blending until you reach your preferred shade.
Once you’re satisfied with the color and consistency, allow the mixture to set in a small container or tin where it can be easily accessed.
Remember to perform a patch test before applying the final product to ensure compatibility with your skin.
Further Read: Unlocking the Power of Bentonite Clay: A Natural Detox and Gut Health Remedy
