

Are you tired of searching through countless makeup stores for the perfect shade of red lipstick? Look no further! In this guide, we’ll walk you through the process of making your own stunning red lipstick at home. Not only will you have a unique product tailored to your preferences, but you’ll also enjoy the satisfaction of crafting it yourself.
Why Make Your Own Red Lipstick?
Before diving into the process, let’s explore the benefits of making your own red lipstick:
- Customizable Shades: You can mix pigments to find the exact shade of red that complements your skin tone.
- All-Natural Ingredients: Skip the synthetic additives and opt for organic ingredients that nourish your lips.
- Cost-Effective: Quality lipsticks can be pricey. With a few simple ingredients, you can create your own for a fraction of the cost.
- Eco-Friendly: By making your lipstick at home, you have control over the packaging, contributing to a greener planet.
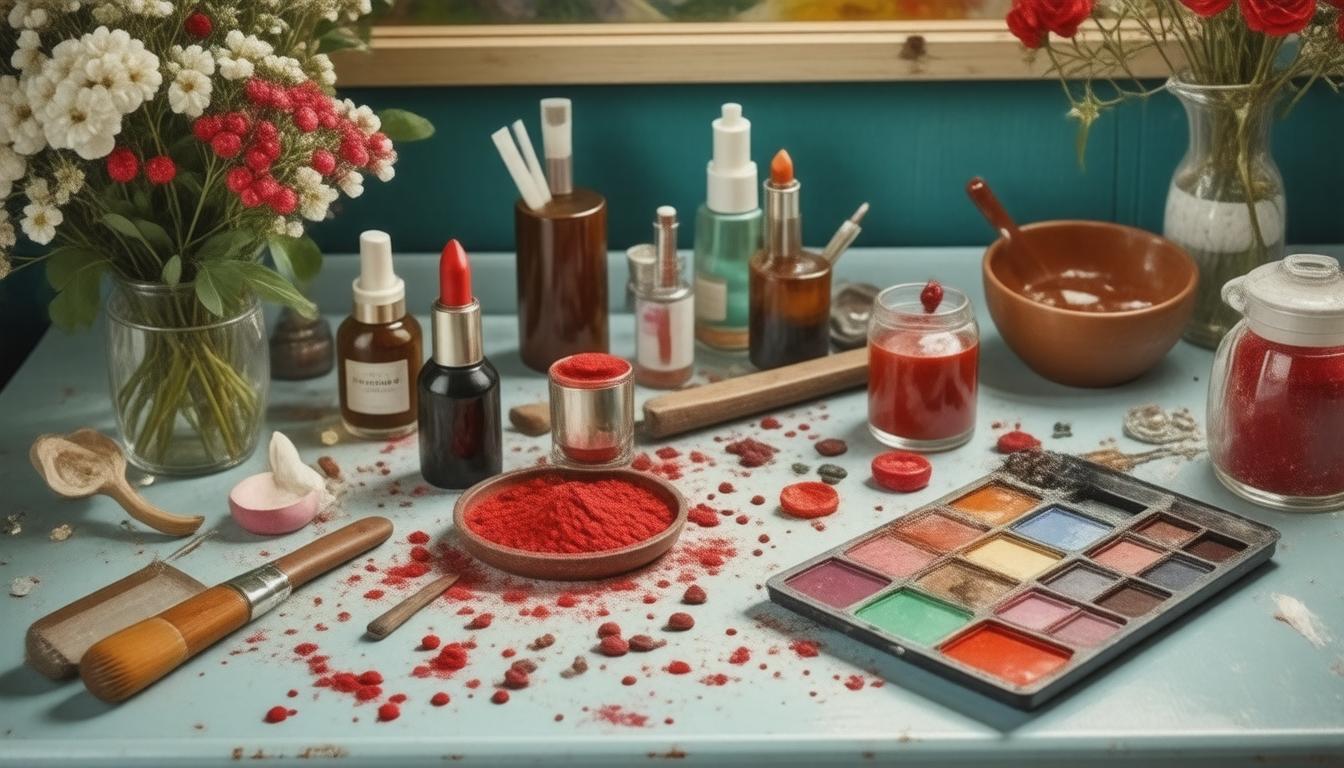
What You’ll Need
Here’s a simple list of ingredients and tools necessary for creating your own red lipstick:
Ingredients:
- Beeswax (1 tablespoon): Acts as a base and hardener for the lipstick.
- Carrier Oil (1 tablespoon): Choose from coconut oil, olive oil, or jojoba oil for a moisturizing formula.
- Shea Butter or Cocoa Butter (1 tablespoon): Provides nourishment and hydrates your lips.
- Colorants: You can use natural pigments like beetroot powder, hibiscus powder, or red mica to achieve that bold red color.
- Essential Oils (optional): Add a few drops of your favorite essential oil for a pleasant fragrance. Peppermint or vanilla can be great choices.
Tools:
- Double boiler or a heat-safe bowl
- Small containers or lipstick tubes for storage
- Stirring stick or spoon
- Measuring spoons
Step-by-Step Guide to Making Red Lipstick
Step 1: Prepare Your Work Area
Start by setting up your workspace. Make sure you have all your ingredients and tools within reach. It’s a good idea to clean and sanitize the containers where you will be storing your lipstick.
Step 2: Melt the Base
Using a double boiler, combine the beeswax, carrier oil, and shea or cocoa butter. Heat the mixture over low to medium heat until everything is fully melted and well combined. Stir occasionally to ensure even melting.
Step 3: Add Color
Once your base is melted, it’s time to add the color! Start with a small amount of your chosen colorant, mixing well. If you prefer a deeper, more vibrant red, continue to add more pigment until you achieve your desired shade. Keep in mind that the color may appear different when applied to your lips, so test a small amount on your wrist beforehand.
Step 4: Add Essential Oils
If you want to add some fragrance, now is the time to include a few drops of essential oil. Stir well to incorporate the scent throughout the mixture.
Step 5: Pour and Set
Quickly pour the mixture into your small containers or lipstick tubes before it begins to harden. Allow the lipstick to cool for about an hour. Once hardened, you can cap your containers or twist up the tubes, and your DIY red lipstick is ready for use!
Tips for Success
- Patch Test: Before applying your homemade lipstick widely, be sure to do a patch test to ensure you don’t have any allergic reactions.
- Storage: Store your lipstick in a cool, dry place away from direct sunlight to maintain its integrity. Homemade lipstick typically has a shelf life of 6-12 months.
- Experiment: Don’t hesitate to experiment with different ingredients or ratios to create a lipstick that suits your unique style.
Conclusion
Making your own red lipstick at home can be a fun and rewarding experience. With just a few simple ingredients, you can customize the color, texture, and scent to suit your personal taste. Not only will you be equipped with a gorgeous product, but you’ll also gain insights into the beauty of DIY craft. Say goodbye to store-bought options and hello to your personalized stunning red lipstick!
Whether you’re preparing for a night out or just want to add a pop of color to your daily look, this DIY red lipstick recipe is sure to become a staple in your beauty routine. Happy crafting!
