


Herbal remedies have been utilized for centuries, tapping into the rich tapestry of nature’s pharmacy.
As we continue to seek natural alternatives for healing, making herbal tinctures at home offers an empowering way to harness the therapeutic benefits of herbs.
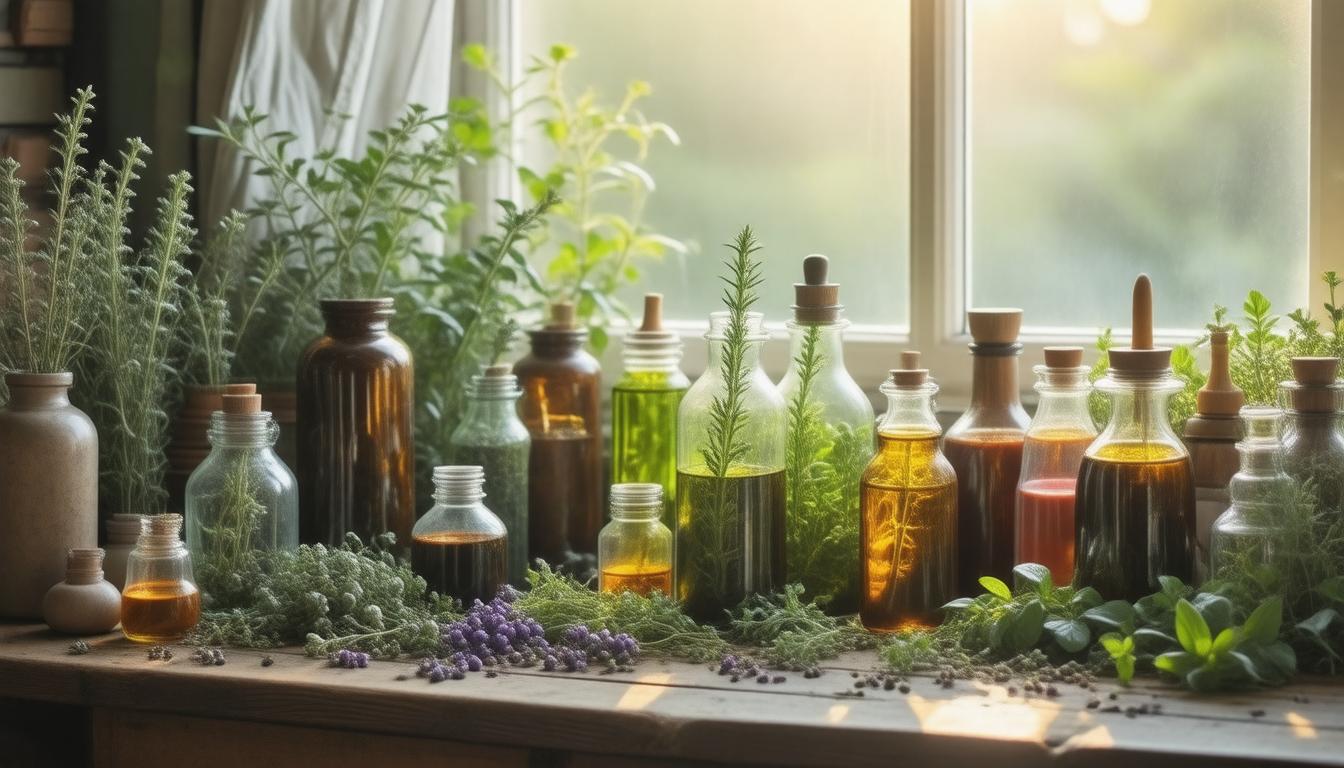
Tinctures, which are concentrated extracts primarily made with alcohol, provide a shelf-stable solution that can draw on the potency of medicinal plants.
In this guide, we will delve into the essentials of creating powerful herbal tinctures, along with dosage guidelines, safety considerations, and the distinctions between various types of herbal extracts.
Prepare to embark on a journey that unlocks the secrets of herbal healing at your fingertips!
Key Takeaways
- Herbal tinctures are concentrated, long-lasting extracts that are easier to prepare than herbal teas.
- Making tinctures requires basic ingredients like dried herbs and high-proof alcohol, with a steeping process lasting from two weeks to six months.
- It’s important to research individual herbs and consult healthcare professionals before using tinctures for health benefits.
Ingredients and Equipment Needed for Herbal Tinctures
## Ingredients and Equipment Needed for Herbal Tinctures
Herbal tinctures are a fantastic way to harness the potent health benefits of medicinal herbs in a concentrated form.
Unlike traditional herbal teas, tinctures deliver the essence of the herb directly into your system using alcohol as a solvent, allowing for long-term storage and ease of use.
In this section, we will outline the essential ingredients and equipment needed to craft your own herbal tinctures at home.
### Key Ingredients
1.
Dried Herbs: The cornerstone of any tincture, the herbs provide the therapeutic properties.
Some popular choices include:
– Chamomile: Known for its calming effects, making it perfect for alleviating stress and promoting sleep.
– Echinacea: Renowned for its immune-boosting capabilities, excellent during cold and flu seasons.
– Ashwagandha: Widely used for its adaptogenic properties, helping the body cope with stress.
2.
Alcohol: A consumable alcohol of at least 80 proof is essential since it extracts the active compounds from the herbs effectively.
Grain alcohol, vodka, or brandy are all suitable options.
### Equipment Needed
• Glass Jar: A clean, dry glass jar with a tight-sealing lid is crucial to store the herbs and alcohol mixture.
Dark glass jars are recommended to limit light exposure, preserving the tincture’s potency.
• Strainer or Cheesecloth: After the steeping period, you will need something to strain the mixture, ensuring only the finished tincture remains.
– Dropper Bottles: Once strained and completed, transfer your tincture into dropper bottles for easy dispensing.
### Summary of the Tincture-Making Process
Making herbal tinctures is a straightforward process that allows for both creativity and therapeutic benefits.
Fill your glass jar with dried herbs, ensuring they are tightly packed.
Cover the herbs completely with your choice of alcohol, leaving a little room at the top.
Store the jar in a cool, dark place, shaking it gently once a day.
Allow it to steep for a minimum of two weeks, although some herbs may benefit from a longer period of up to six months.
When ready, strain the tincture through your cheesecloth or strainer, collecting the liquid in a clean bottle.
As you embark on your tincture-making journey, it’s important to distinguish between true tinctures and alternatives such as herbal glycerites and herbal vinegar.
Each option has its unique benefits and flavor profiles.
Always consider appropriate dosages and consult with healthcare professionals, especially if you’re new to herbal remedies or have existing health conditions.
By following this guide, you can confidently explore the world of herbal tinctures, tapping into the natural remedies that benefit your health and wellness.
Step-by-Step Instructions to Create Herbal Tinctures
## Step-by-Step Instructions to Create Herbal Tinctures
Creating herbal tinctures is an accessible and rewarding process, allowing you to unlock the potent benefits various herbs offer.
Below, we provide detailed, easy-to-follow instructions to help you craft your own herbal tinctures at home, ensuring that the process is both effective and enjoyable.
### Step 1: Gather Your Ingredients and Equipment
Make sure you have all the necessary items before beginning.
You will need dried herbs (such as chamomile, echinacea, or ashwagandha), at least 80-proof consumable alcohol, a clean glass jar, a strainer or cheesecloth, and dropper bottles for storage.
### Step 2: Prepare the Herbs
Take your selected dried herbs and fill your glass jar, packing them firmly but not too tightly.
The quantity can vary, but a general guideline is to fill the jar about two-thirds with herbs.
This ensures maximum extraction from the plant material.
### Step 3: Add the Alcohol
Once your jar is filled with herbs, pour in enough alcohol to cover the herbs completely.
Leave a small amount of space at the top of the jar.
The alcohol acts as a solvent, extracting the beneficial compounds from the herbs effectively.
### Step 4: Store and Steep
Seal the jar tightly and place it in a cool, dark location.
For the next few weeks, shake the jar gently every day to help the extraction process.
The steeping time can vary: for most tinctures, a minimum of two weeks is recommended, but some herbs are best steeped for several months to maximize potency.
### Step 5: Strain the Mixture
After the desired steeping period, it’s time to strain your tincture.
Use a strainer or cheesecloth to separate the liquid from the herbal material.
Squeeze the cheesecloth to extract as much tincture as possible, ensuring you don’t waste any of the herbal goodness.
### Step 6: Bottle and Label
Transfer the strained tincture into dark glass dropper bottles for protection against light degradation.
It’s wise to label each bottle with the herb’s name and the date of preparation to keep track of expiration.
### Summary of Key Steps
1.
Gather your dried herbs and alcohol.
2.
Fill the glass jar with herbs and cover with alcohol.
3.
Seal, store, and shake daily.
4.
Strain after the steeping period.
5.
Bottle, label, and store your tincture.
By following these step-by-step instructions, you’ll master the art of making herbal tinctures, tapping into nature’s pharmacy to support your wellness journey.
Remember to always research the herbs you are using and consult healthcare professionals to ensure safety and effectiveness.
Happy tincture-making!
